
- Select the Websites menu option from the Dashboard sidebar.
- Go to your website’s overview by clicking on its name.
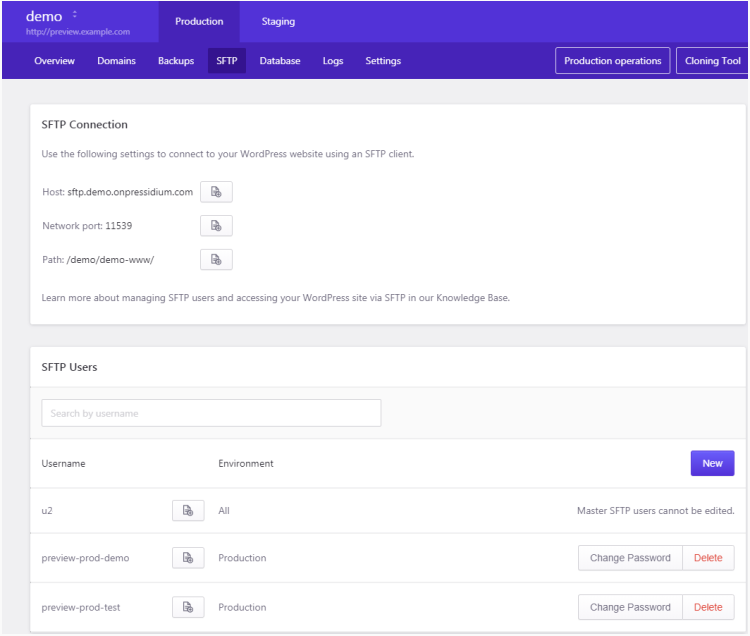
- Navigate to the SFTP page by clicking the link on the navigation bar.
To add a new user:
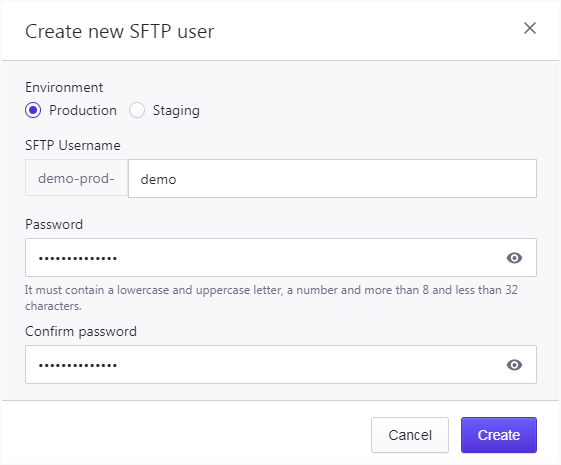
- Click New.
- Select Environment (Production or Staging) to grant access to the production or staging environment respectively. A user can only access files and data of the selected environment.
- Provide a User name and a Password. A strong password (mixed lower case and uppercase Latin characters, numbers and special characters) is recommended.
- Click Create to create the user.
Test the newly created user by connecting to your website via SFTP.
To delete a user:
- Locate the user in the SFTP Users list.
- Click Delete to display the user deletion confirmation dialog.
- Click Delete to permanently delete the user.
To change a user’s password:
- Locate the user in the SFTP Users list.
- Click Change Password.
- Enter the new password and click Update.
Important:
- Each SFTP user account has access only to the associated website and data, and nowhere else!
- The account owner has an SFTP account, displayed as a “master” account, that has access to all websites via SFTP. Use it with your Dashboard credentials. It is recommended to avoid using and/or sharing this account and instead create a separate account for each website you want to access.
NOT ANSWERED YOUR QUESTION? SEARCH AGAIN OR SUBMIT A SUPPORT REQUEST