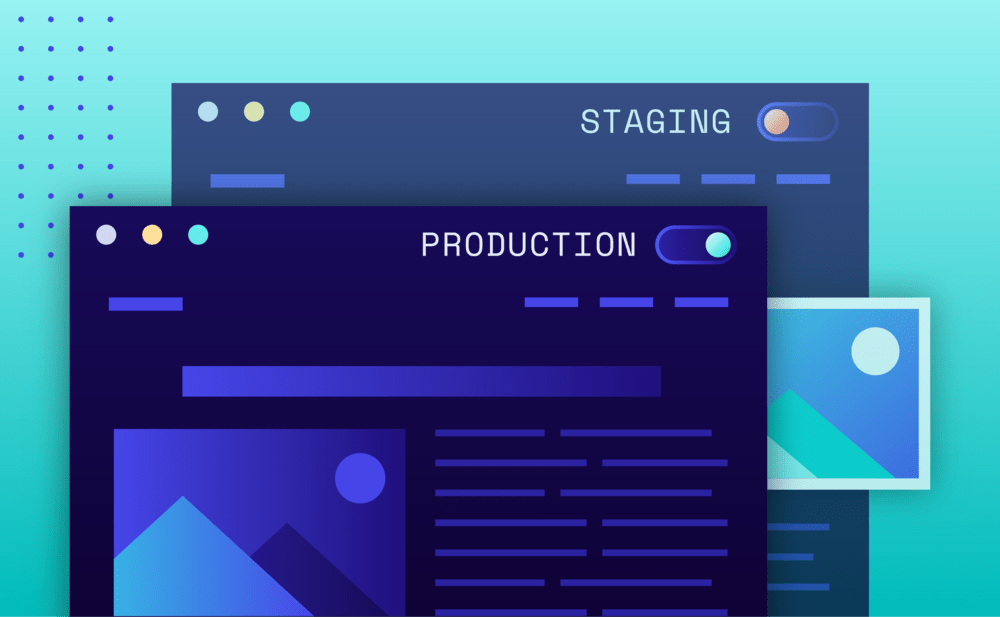
Making changes to a live WordPress website can be a stressful process, especially if you receive a lot of traffic to your website. Even something simple like updating a plugin can go wrong pretty quickly. Staging sites can eliminate the risk of making changes to your live website by allowing you to undertake them on a copy of your live website. This allows you to be sure any changes made work as intended before pushing those changes to your live site.
Staging Sites are included in all Pressidium plans.
Getting Started with Staging Sites
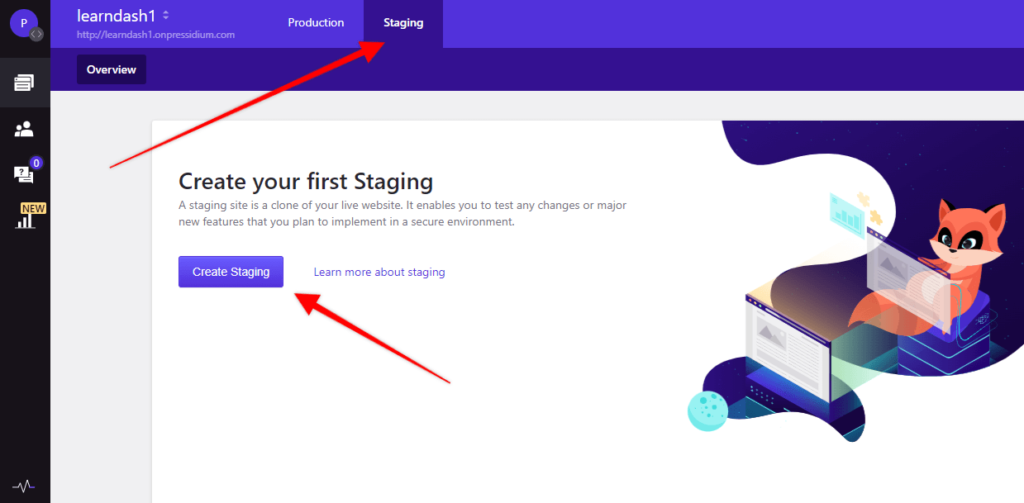
To get started with a Staging Site, log into your Dashboard and head to the site you want to work on. Click on the Staging tab which is located to the right of the Production tab (the Production site is your live website).
If this is the first time you’ve used the Staging site feature you’ll be prompted to create this by clicking the ‘Create Staging’ button. Once you’ve done this, a copy of your website will automatically be created. You’ll be notified by email when it’s ready (normally ten minutes or less).
Working with your Staging Site
With your Staging site created, you’re now able to access this, log in, and make the required updates. You’ll notice on the Staging tab that it looks very similar to the Production tab. The primary difference will be the domain which will have changed from your live website URL to an automatically generated subdomain via which you’ll access your staging site. Click on this to access the site (again, you’ll notice that the site is identical to your live site).

Login via WP-Admin using the same login details that you would for your live website. Your staging site shouldn’t be indexed by Google and is completely independent from your live (Production) website which means you can now make whatever changes you wish without affecting your live site. This might be some plugin updates or could be wholesale design changes.
Pushing Staging Changes to Production
Once you’ve made any required updates to your Staging site, you’re now able to seamlessly ‘push’ these to your live (Production) website. To do this, click on the ‘Staging Operations’ button from within the Staging tab. You’ll then need to select ‘Push Staging to Production’ from the dropdown menu.
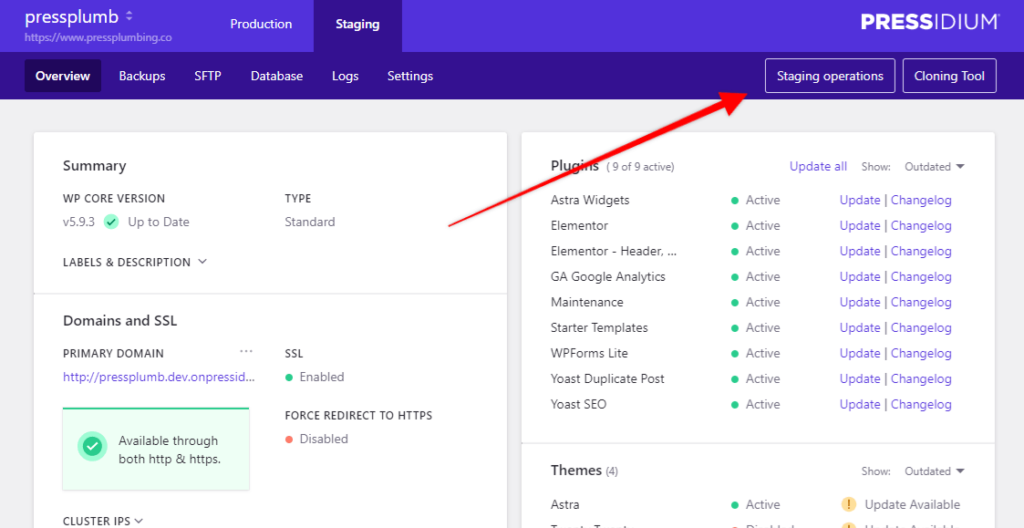
When you do this a popup window will appear that confirms the push from Staging to Production. It will warn you that this will overwrite your live website. If you’re happy to proceed click ‘Push to Production’. The changes will be pushed to your live website within a few minutes and you’ll receive an email notification confirming the update has been successful.
Note: Your live (Production) website will go into Maintenance mode for a brief period of time. If you have a lot of traffic visiting your site then it might be worth waiting until traffic volumes are low before pushing these changes across.

Pushing Production Site to Staging Site
The first time you created a Staging site you will of course have ended up with a perfect copy of your Production website on the Staging server. Over time, the Staging server copy may become out-of-date if you undertake any work directly on your live website. As such, before making changes to your Staging site, it’s always worth making sure it is fully up-to-date and in sync with your Production website.
To do this, head to the Staging tab and click on Staging Operations. Select ‘Push Production to Staging’ and then confirm via the popup box. Your Production site will be copied to your Staging site (overwriting existing content on there) within a few minutes. You’ll be notified via email when this process has been completed.
Further Support
For further instructions on using Staging sites, check out our Knowledge Base article on this topic.
You can also request help from our team 24x7x365 by submitting a Support Ticket from within your Dashboard.


